The stretch and fold technique is a cornerstone of sourdough baking, allowing bakers to develop gluten strength without the intensive kneading required for other bread recipes. This gentle method encourages elasticity and structure in the dough, leading to an open crumb and a beautiful rise. Whether you’re a beginner or an experienced baker, mastering this technique is key to creating bakery-quality sourdough.
In this guide, we’ll explore the purpose of stretch and fold, step-by-step instructions, and tips for perfecting your technique.
1. What is Stretch and Fold?
The stretch and fold method involves gently stretching a portion of dough and folding it over itself. This process is repeated multiple times during the bulk fermentation stage.
- Purpose:
- Strengthen gluten networks for better structure and rise.
- Incorporate air into the dough for a light, open crumb.
- Redistribute fermentation gases and yeast activity evenly throughout the dough.
- Why It’s Better Than Kneading:
- Less labor-intensive.
- Maintains dough hydration, essential for high-moisture sourdough.
- Prevents overworking the dough, which can lead to a tough texture.
2. How Stretch and Fold Works
Stretch and fold leverages the dough’s natural hydration and elasticity. Over time, the repeated stretching aligns gluten strands, creating a strong yet flexible network capable of trapping fermentation gases.
3. When to Use Stretch and Fold
- During Bulk Fermentation:
- Typically performed 3–4 times during the first few hours of bulk fermentation.
- Spaced out at 20–40 minute intervals to allow the dough to relax between rounds.
- For High-Hydration Doughs:
- Essential for doughs with hydration levels of 70% or higher, as traditional kneading may be too difficult or sticky.
4. Step-by-Step Guide to Stretch and Fold
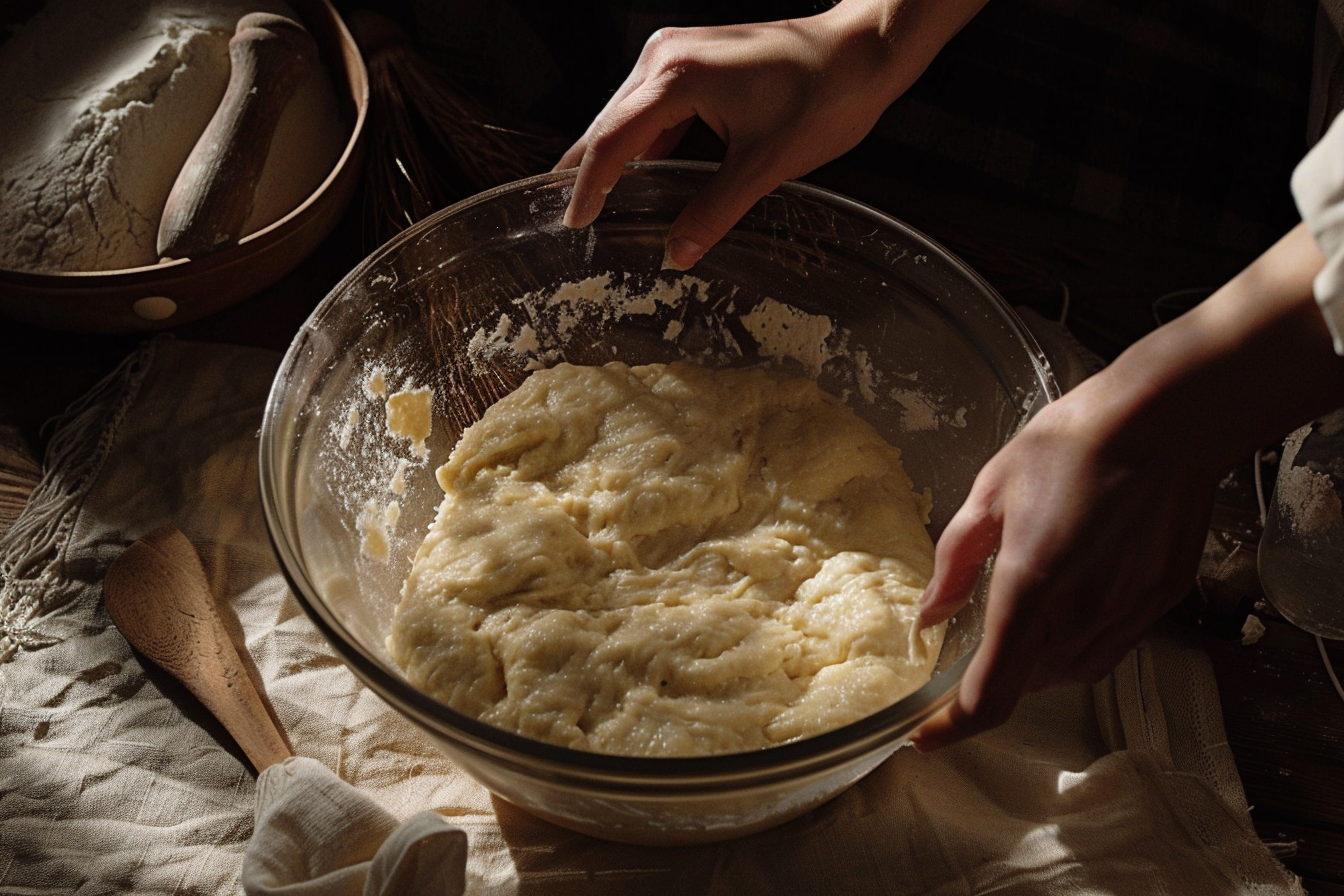
Step 1: Prepare Your Dough
- Ensure your dough has rested for 30 minutes to 1 hour after mixing (autolyse or initial mixing phase).
- Place the dough in a lightly oiled or damp bowl to prevent sticking.
Step 2: Wet Your Hands
- Prevent sticking by wetting your hands with water. Avoid using flour, as it can alter the hydration balance.
Step 3: Stretch the Dough
- Gently grab one side of the dough, lift it upward, and stretch it without tearing.
Step 4: Fold Over
- Fold the stretched portion of the dough over itself to the opposite side.
Step 5: Rotate and Repeat
- Rotate the bowl 90 degrees and repeat the stretch and fold.
- Perform this action 4–6 times, until all sides have been stretched and folded.
Step 6: Rest the Dough
- Cover the bowl and let the dough rest for 20–40 minutes before the next round.
5. Visual and Tactile Cues
- After Each Fold: The dough should feel tighter and hold its shape better.
- By the Final Fold: The dough should feel smooth, elastic, and slightly jiggly when moved.
6. Common Mistakes and How to Avoid Them
- Overstretching the Dough
- Problem: Tearing weakens gluten structure.
- Solution: Stretch gently, stopping before the dough resists.
- Skipping Rests Between Folds
- Problem: Overhandling the dough can make it overly dense.
- Solution: Allow 20–40 minutes of rest between folds to let the dough relax.
- Underperforming the Folds
- Problem: Insufficient folding leads to weak gluten and poor structure.
- Solution: Complete all required folds during bulk fermentation.
- Neglecting Hydration Levels
- Problem: Too much or too little water affects dough elasticity.
- Solution: Follow the recipe’s hydration percentage and adjust slightly if needed.
7. Advanced Techniques for Stretch and Fold
- Lamination (Full Stretch)
- Spread the dough thinly over a flat surface and fold it in layers.
- Adds extra strength and is ideal for very high-hydration doughs.
- Coil Folds
- Lift the dough from the center and tuck the edges under itself.
- Gentle and effective for delicate, airy doughs.
- Adding Mix-Ins During Folds
- Incorporate nuts, seeds, or dried fruits during the second or third fold to ensure even distribution.
8. Why Stretch and Fold Matters for Gluten Development
- Gluten strands are like a net, trapping fermentation gases and supporting dough structure.
- Stretching aligns and strengthens these strands, ensuring an even rise and an open crumb.
- Without proper gluten development, bread can turn out flat, dense, or unevenly textured.
9. Troubleshooting Stretch and Fold Issues
| Problem | Cause | Solution |
|---|---|---|
| Dough tears easily | Insufficient hydration or overhandling. | Add more water or rest longer between folds. |
| Dough feels too slack | Weak gluten or underfolding. | Perform an extra round of stretch and fold. |
| Dough resists stretching | Overdeveloped gluten or tight dough. | Let the dough rest longer before folding. |
10. How to Know When You’re Done
- The dough should feel elastic, smooth, and strong.
- You should see visible bubbles forming on the surface.
- A windowpane test (stretching a piece of dough thin enough to see light through without tearing) should pass easily.
Conclusion
Mastering the stretch and fold technique is a game-changer for sourdough baking. By gently strengthening the dough’s gluten structure, you set the foundation for bread with an airy crumb, a lofty rise, and incredible flavor. With practice and attention to your dough’s behavior, you’ll find this method to be an intuitive and satisfying part of the sourdough process.
Happy folding—and happy baking!
